Create Beautiful PDFs with HTML, CSS, and Markdown
I built an easy-to-use tool that lets me use just HTML, CSS, and Markdown to create beautiful ebooks and PDFs.
I wasted thousands of dollars hiring someone to format and layout a previous book, but it was a painful process. Industry standard tools like Adobe InDesign don’t work well with Markdown, and getting the syntax highlighting right was a complete nightmare — I spent weeks and many iterations of reviews trying to get it right.
But my custom tool lets me do all of that in just a day or two, and it’s a breeze to use (it even has hot reloading, so I can see changes immediately).
I can use the skills I’ve spent a decade mastering — HTML, CSS, Javascript, and Markdown. It also lets me reuse my existing branding and styles from my blog and course platform.
In this article I'll show you exactly how it works.
Here’s what we’ll cover:
- Introduction to Paperback: My Custom PDF Tool
- The Power of Prince: Transforming Web Pages into PDFs
- Running Paperback: Package Scripts
- Serving the Content as an HTML Page
- Writing Content in Markdown for eBooks
- Designing Layouts with Mustache Templates
- Dynamically Generating the Table of Contents with a Custom Script
- Styling Your PDF: Examples and Techniques
Let's get on with it!
Introduction to Paperback: My Custom PDF Tool
Paperback takes neatly organized Markdown content, HTML layouts, and CSS, and combines them into a single HTML page. Then, it converts that page to a PDF using a tool called Prince.
It has these parts:
- Content — Write content in Markdown with frontmatter to add metadata and control the
layoutthat it uses - Layout — HTML files that use
mustachetemplates to inject the content and metadata from our Markdown files - Styles — CSS that defines how each layout should look
- Javascript — A script that generates the table of contents dynamically
- Server — Pulls everything together and serves the HTML page
- Commands — A few commands to run the server, process CSS, and generate the PDF — with support for hot reloading
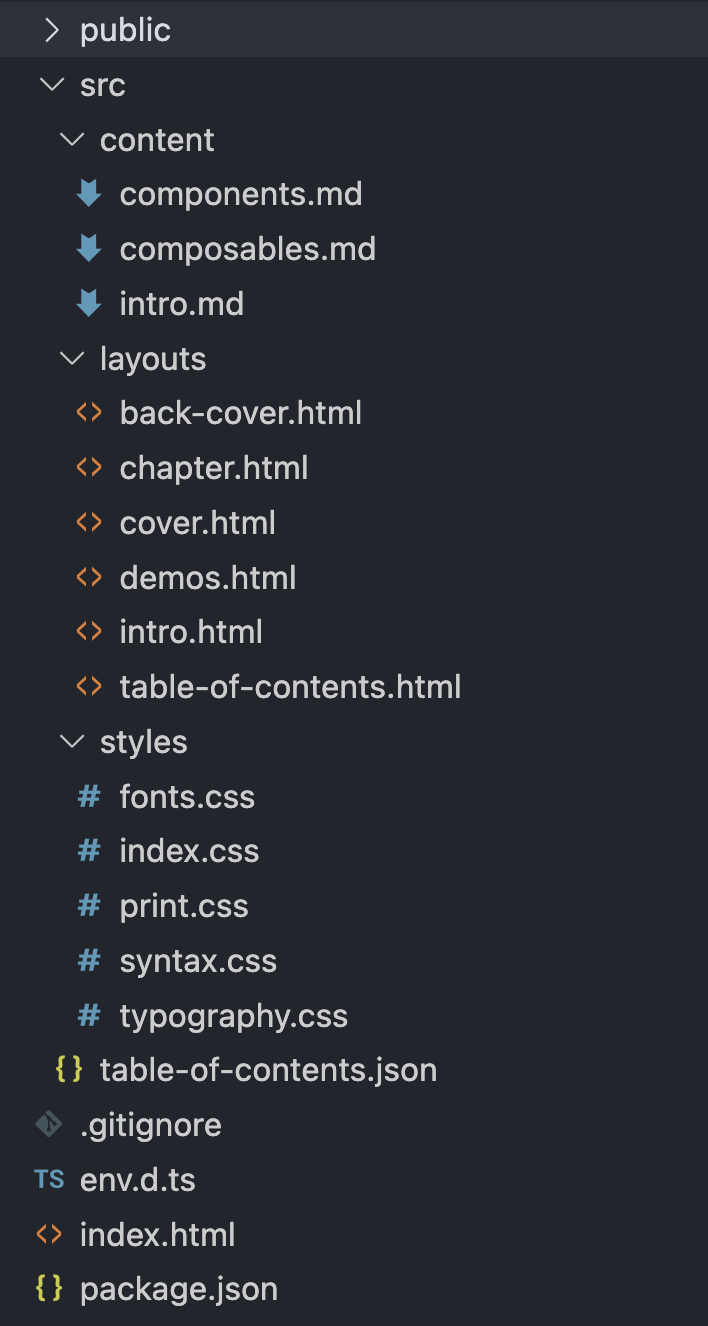
Here’s what the folder structure looks like:
Paperback also lets you use the browser as a dev tool, so you can inspect the DOM and debug your styles, since you can’t exactly do that with a PDF.
The Power of Prince: Transforming Web Pages into PDFs
The core of this tool is a special “web browser” called Prince, whose development is led by the creator of CSS himself.
But instead of browsing the web, it converts web pages into PDFs. What makes it special, is that it has really good support of the CSS paged media module, which lets us define page breaks, pages, page regions, and other things we need to do with books.
It’s also been around for twenty years, so it’s a very stable and feature-rich tool.
Running Paperback: Package Scripts
To get everything running, I have a pdf:all command, which compiles CSS, serves the HTML, and transforms it into a PDF with hot reloading. It uses the concurrently package to run a few things in parallel: concurrently 'npm:postcss' 'npm:dev' 'npm:pdf:watch'.
If I open the PDF with Preview on macOS, I just need to bring focus back to Preview after a change in order for it to reload the updated PDF.
Here's a breakdown of the individual commands:
npm:postcss
The first is the PostCSS command: postcss ./src/styles/index.css -o ./public/output.css -w. This will re-compile our CSS every time it changes.
npm:dev
Second, we have the command that runs the server which serves the page at localhost:3000: node server.
npm:pdf:watch
Lastly, we have the command that pulls it all together to produce the PDF using Prince: prince http://localhost:3000/ -j -o test.pdf. This gets Prince to render the HTML document found at localhost:3000, writing to the file test.pdf. Adding -j enables Javascript so we can generate the table of contents.
This Prince command is run using npm-watch to automatically re-run whenever any source files are changed. I use these settings in my package.json to set that up:
This tells npm-watch to re-run the pdf script whenever a CSS, Markdown, or HTML file changes inside of the public or src folders. We include public so that it will be triggered when PostCSS is finished compiling the CSS file.
Then, set up the scripts themselves:
We set up the pdf script to call the Prince CLI, and the pdf:watch script to call npm-watch.
Serving the Content as an HTML Page
It all starts in the index.html file:
We have three main things happening here:
- Our compiled CSS is loaded in
- All the Markdown content, now transformed into HTML, is added to the
bodyof the page - Our prince script is loaded to generate the table of contents (and do anything else we’d like)
The CSS is compiled using the npm:postcss command we saw earlier: postcss ./src/styles/index.css -o ./public/output.css -w.
Exactly how that CSS is written using the Paged Media module is really interesting, so I’ve included some examples at the end of the article for you.
But for now, let’s see how the server works.
The entire book gets built into an HTML page on every request. We do this on every single request so that we can guarantee freshness, in order to make the hot reloading work.
We have a few steps in this process:
- Load the
index.htmlfile - Load all of the Markdown content and parse the frontmatter
- Load all of the templates
- For each content file, render the Markdown to HTML, using the correct layout file to produce the final HTML
- Combine all the content HTML together, and inject into the
index.htmlfile
With this server, we now have our fully constructed page being served at localhost:3000. Visiting this page in the browser is a great way to debug the styles, since we can use the built in devtools and see how the Javascript is being run:
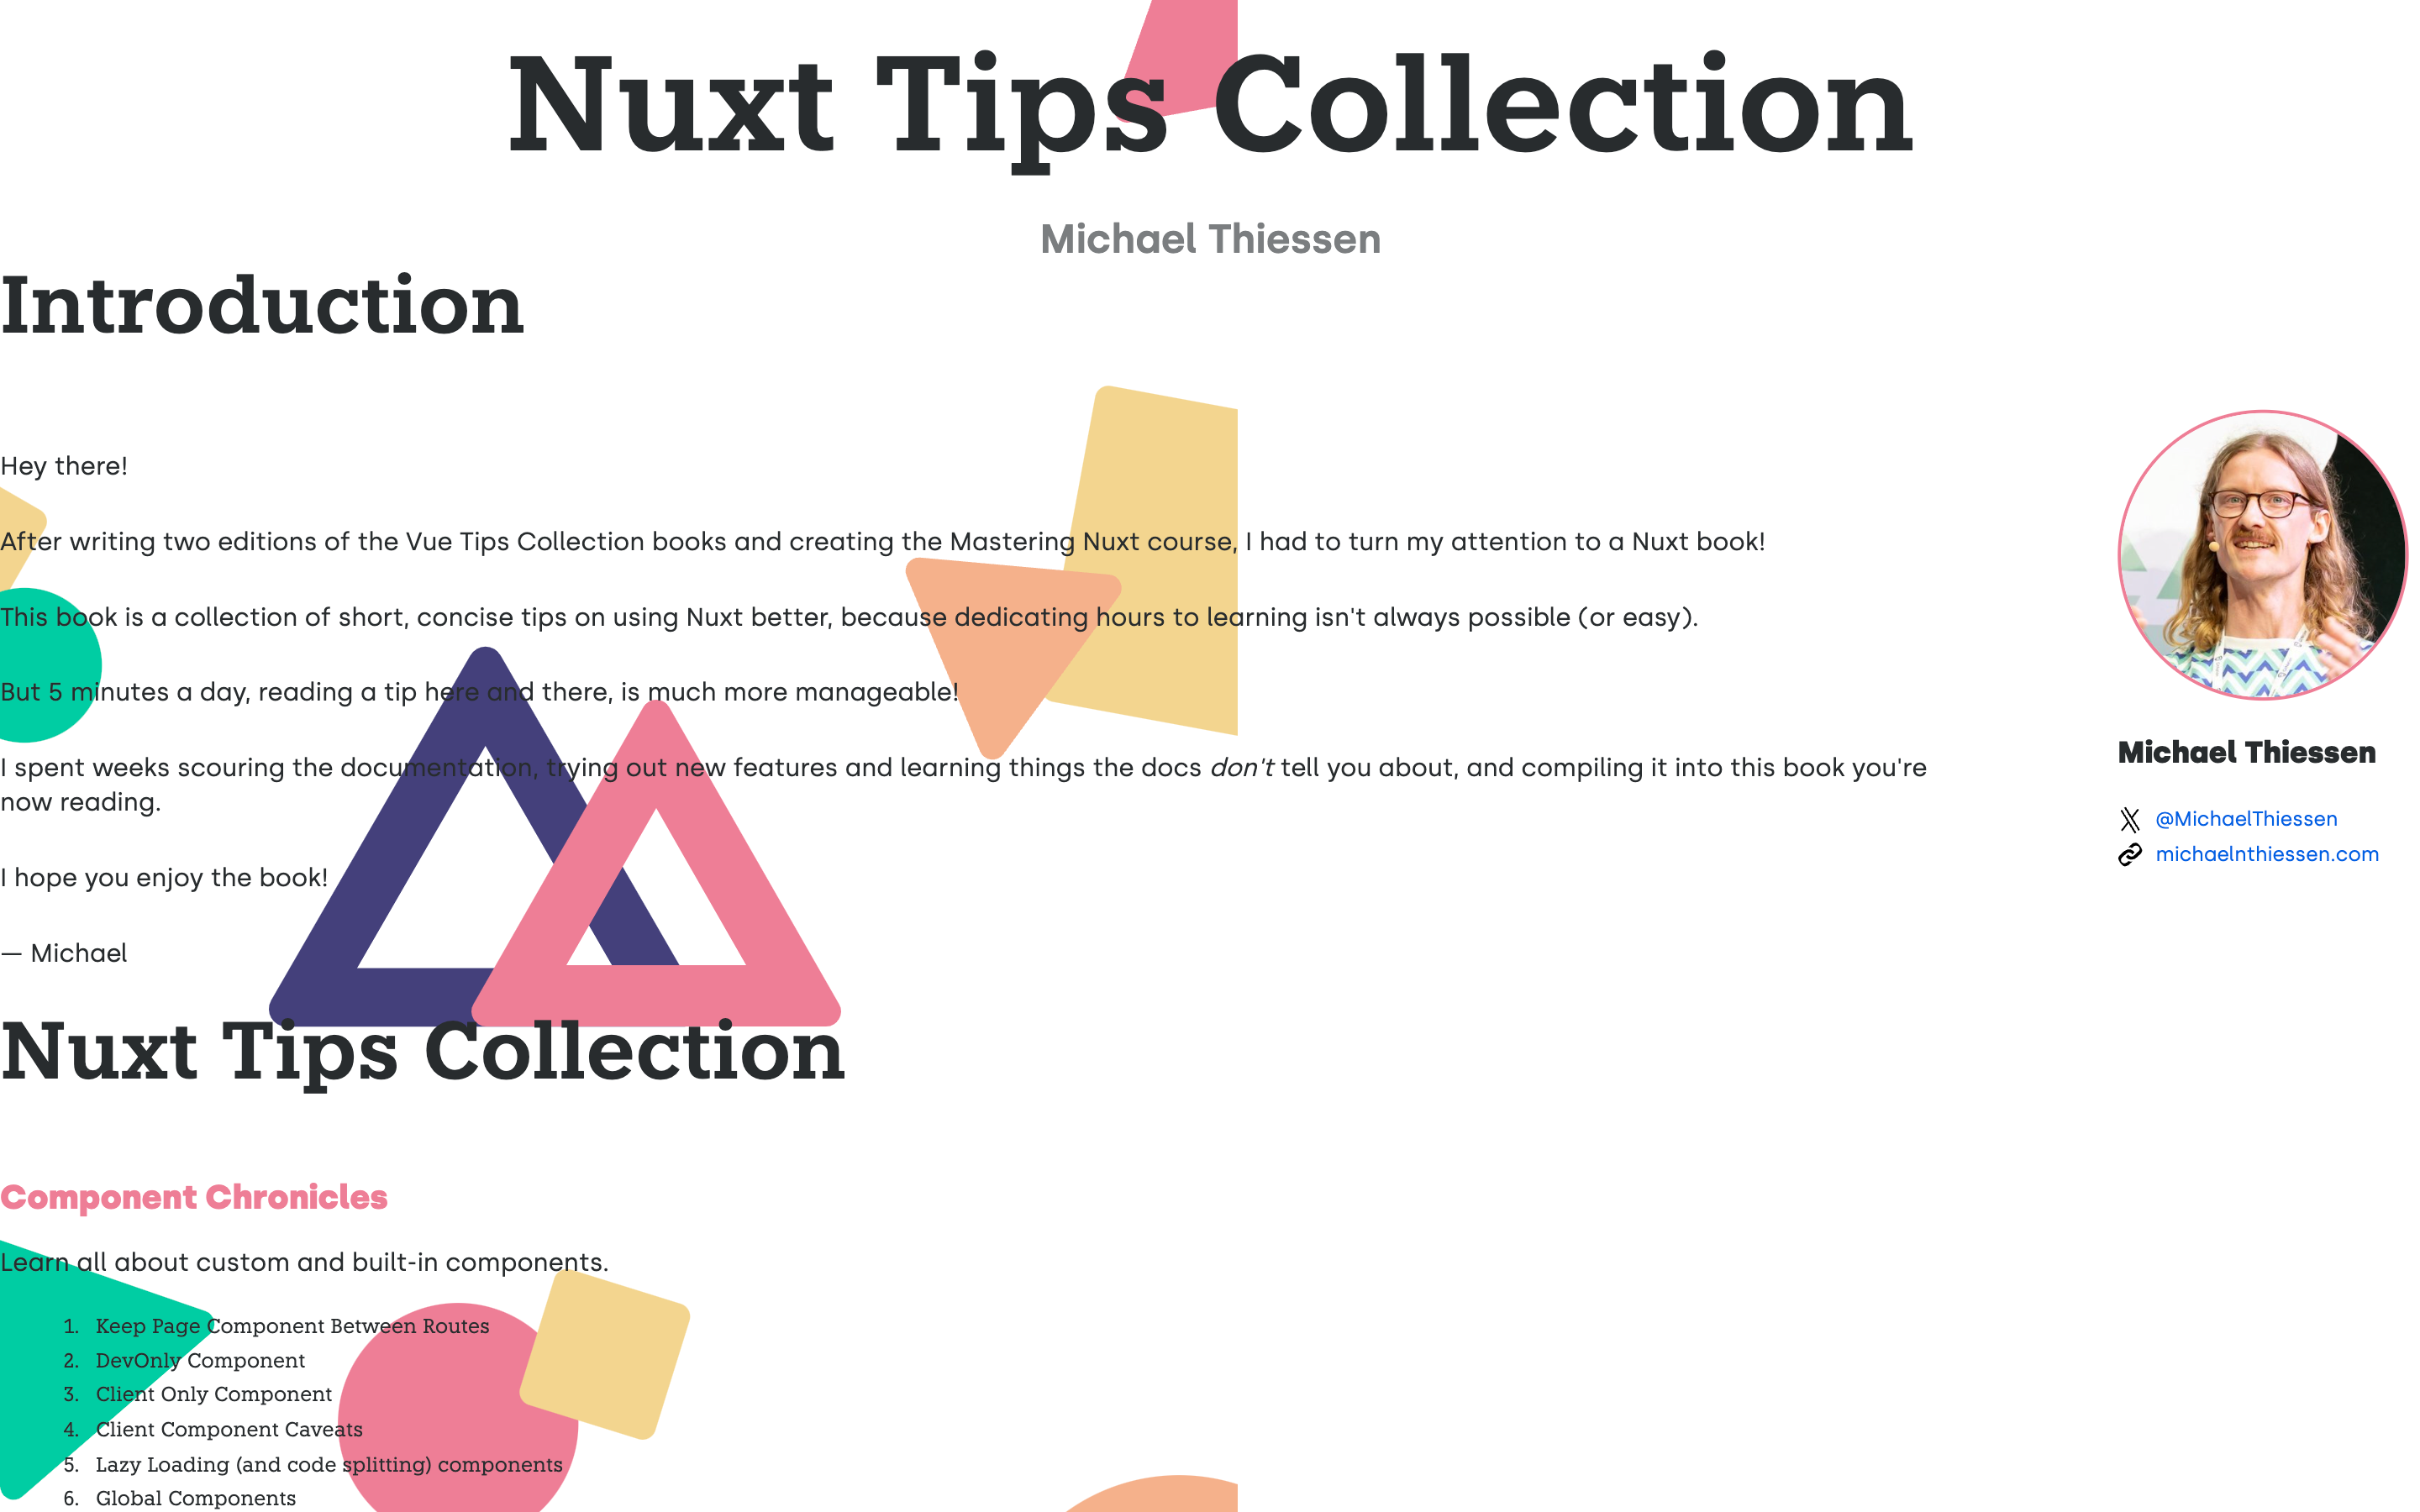
No, it doesn't look nice in the browser, but it does look nice in the PDF.
So, now we have our HTML.
But we still need to turn it into a PDF.
Writing Content in Markdown for eBooks
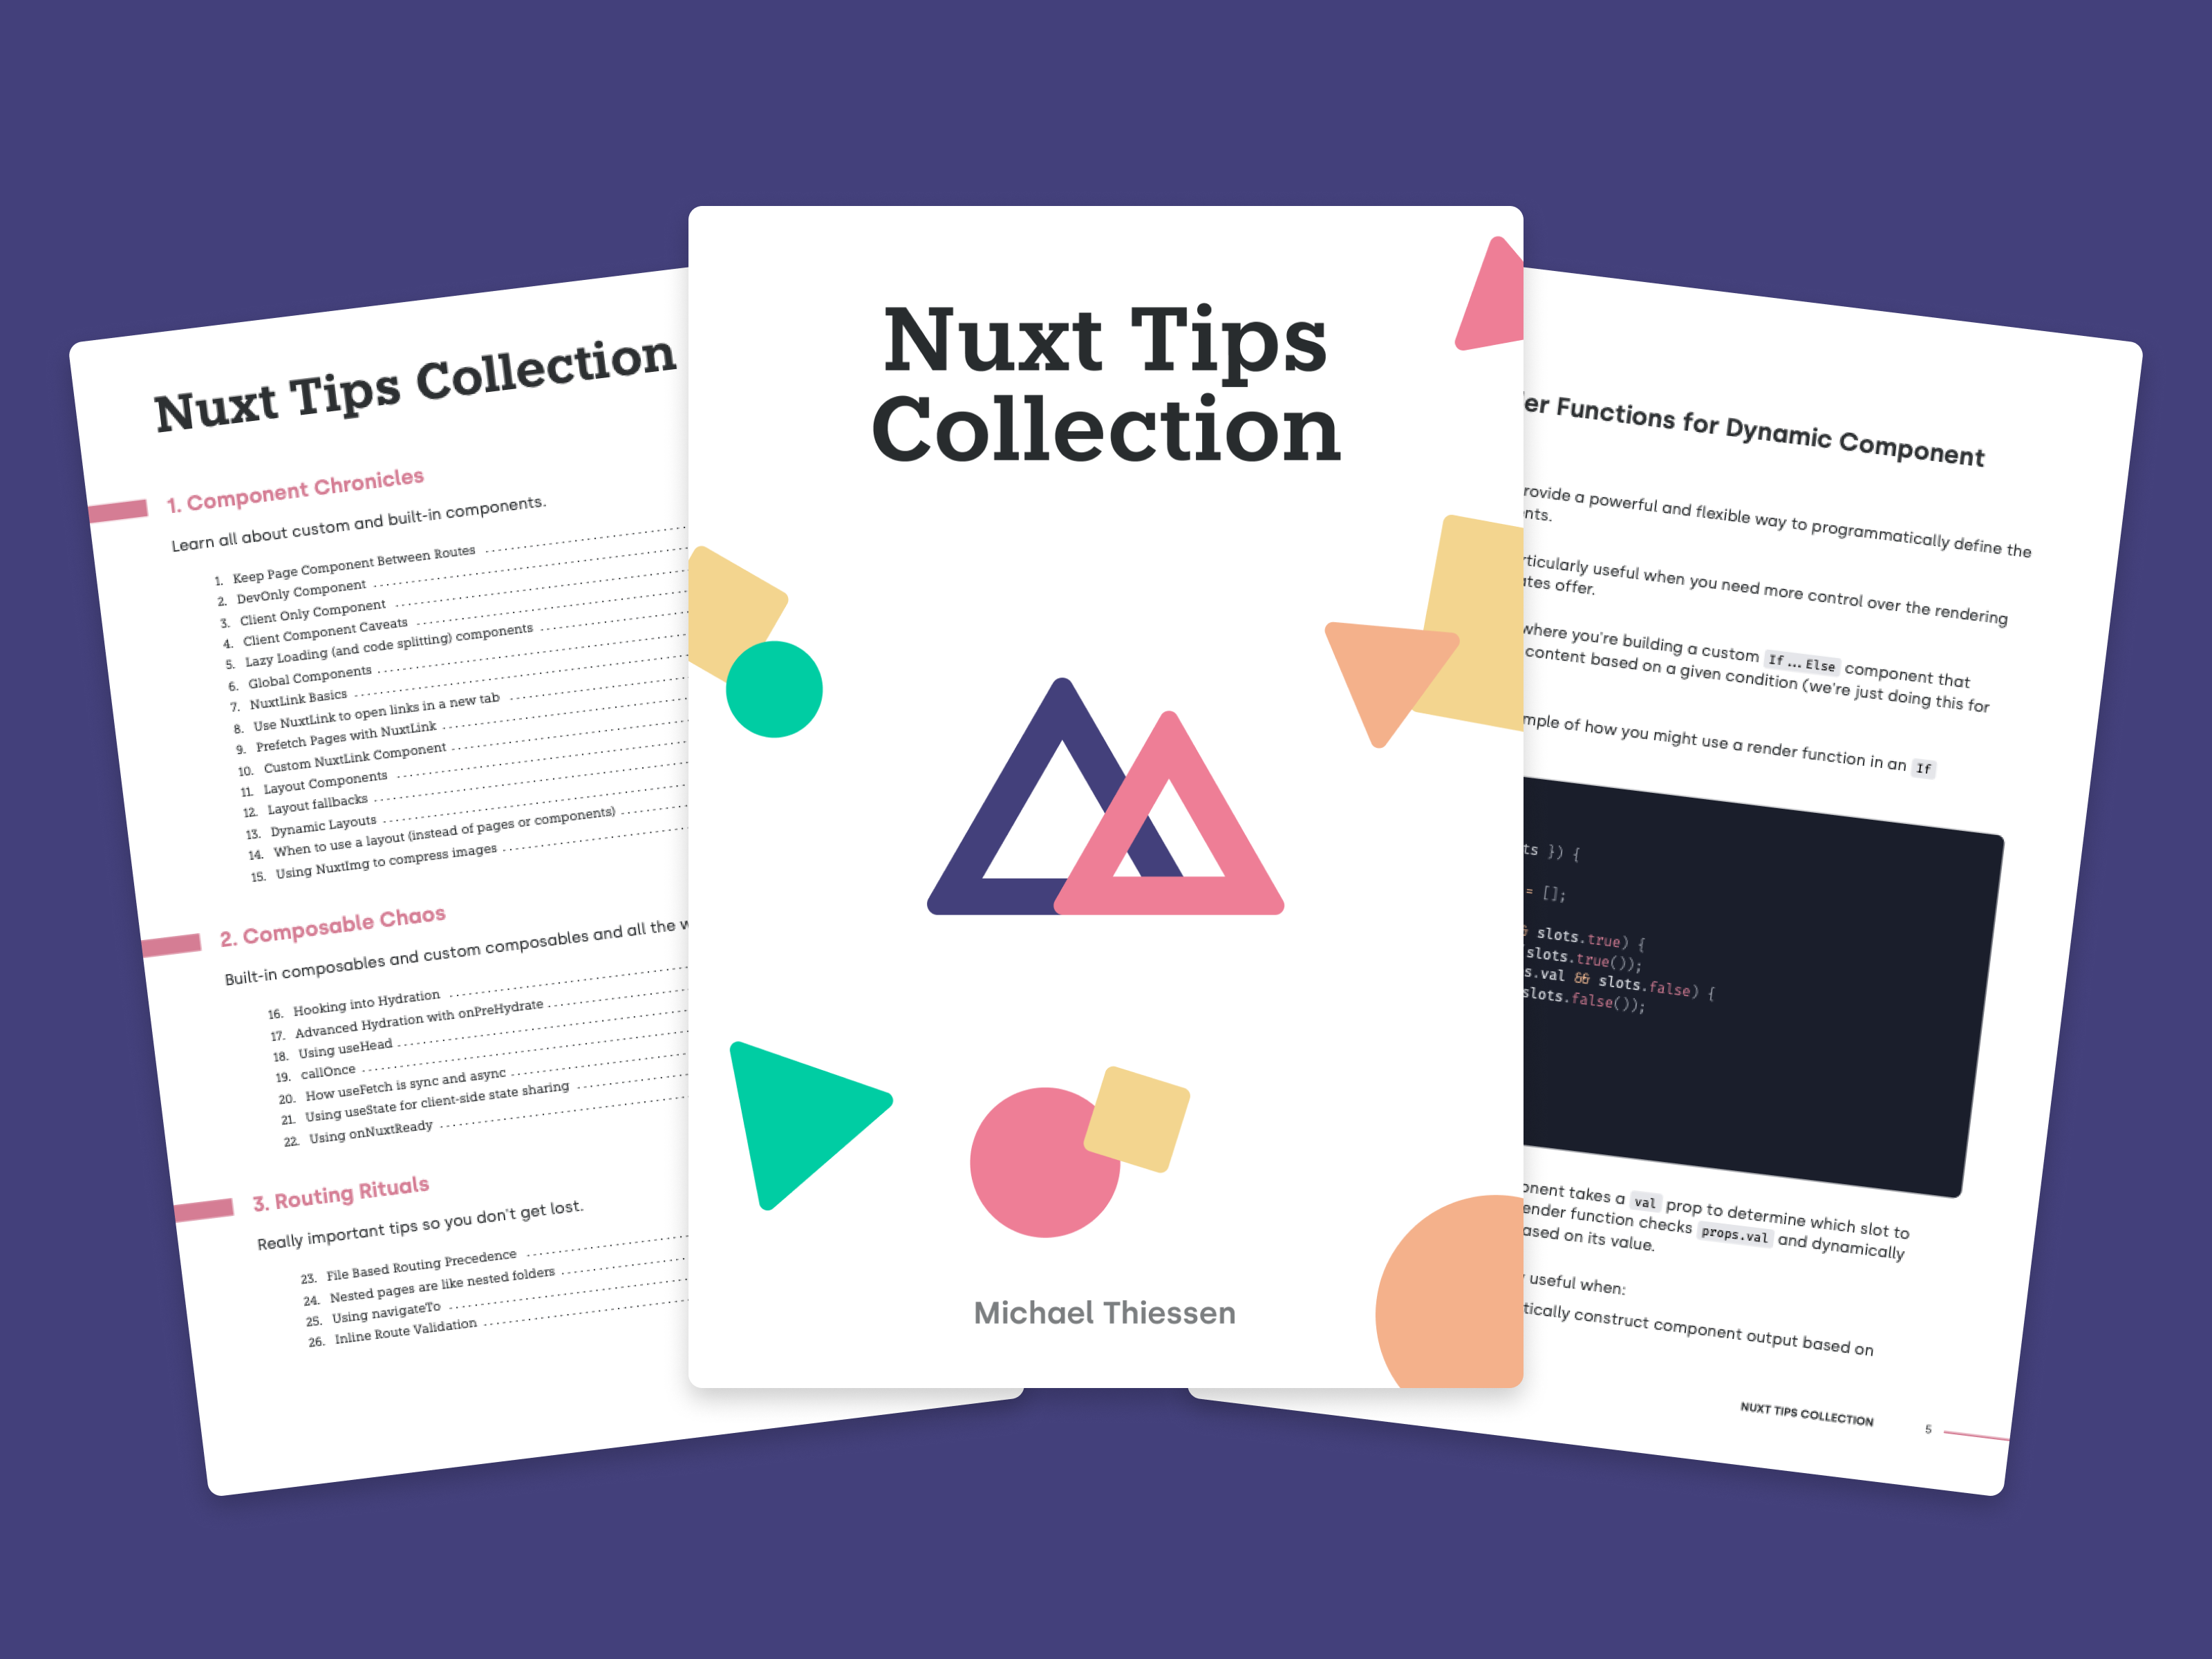
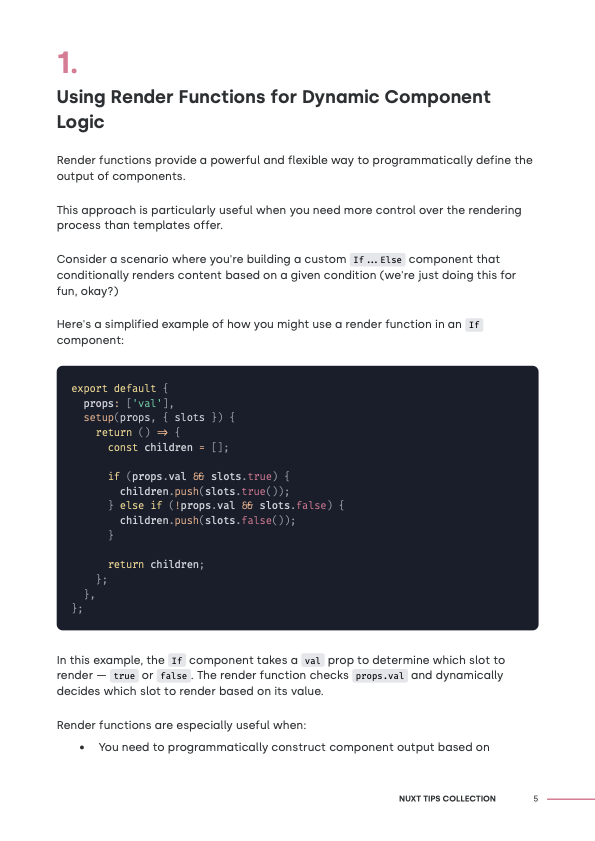
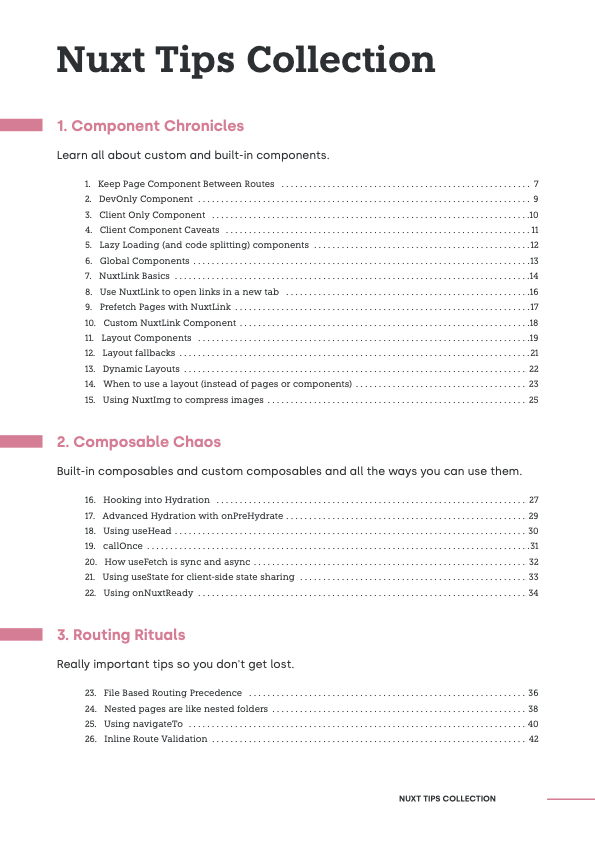
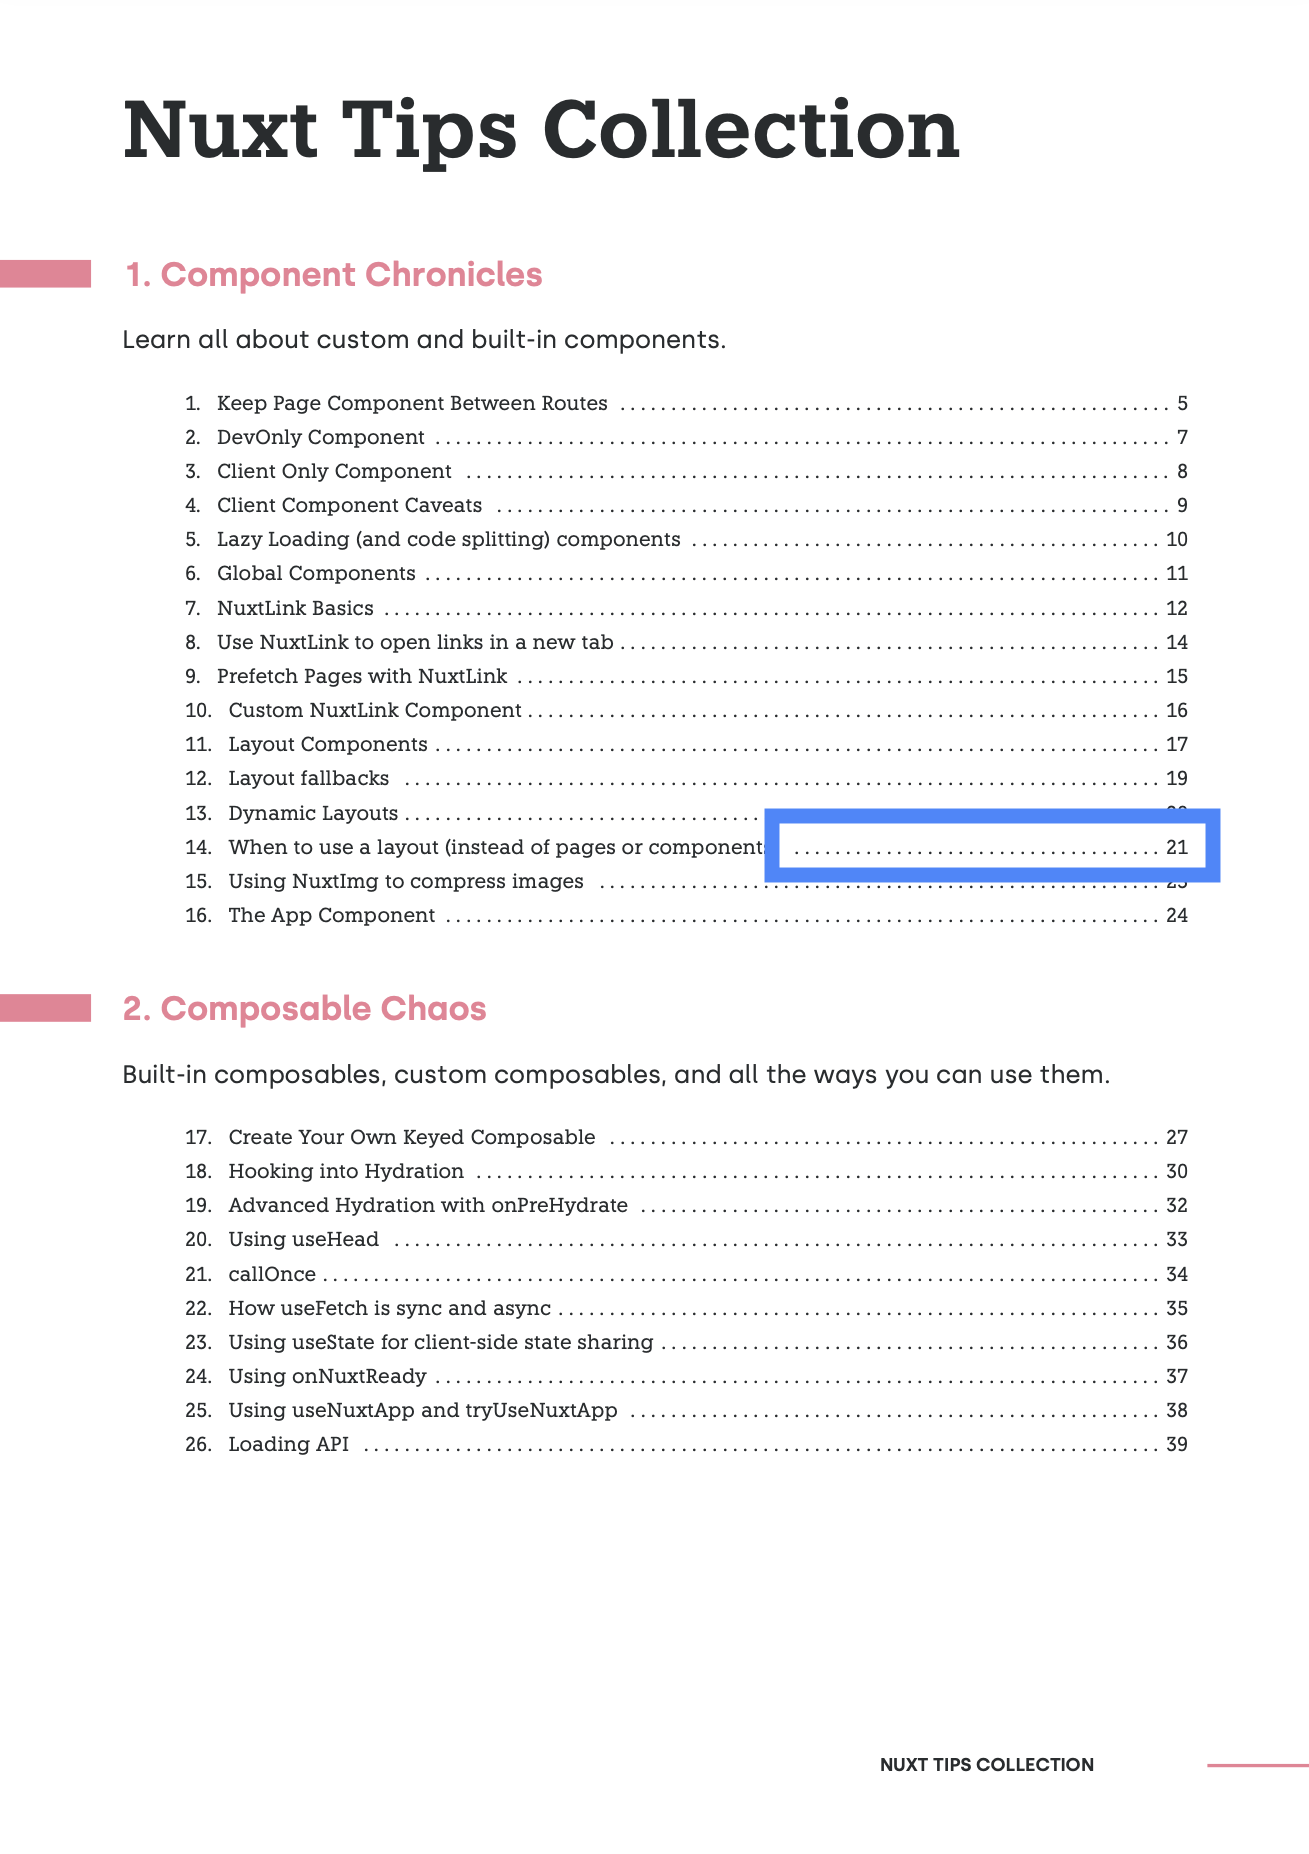
All the content is written in Markdown, which is what I prefer to write in (along with most devs I’d imagine). Here’s a snippet of the first chapter of Nuxt Tips Collection:
Every time we navigate away from and back to /count, this component is re-created, resetting our count back to zero each time.
We have a few properties in the frontmatter here:
title— the title of the chapterlayout— the name of the layout file that should be used for this contentsubtitle— the subtitle of the chapter
The only required one is the layout property, so the server knows which template to use.
Designing Layouts with Mustache Templates
Each layout is an HTML file that uses mustache to insert variables into a template. Here’s an example of the chapter layout:
The double curly braces let us put variables in — the title, subtitle, and content from our Markdown files. The call to mustache happens in our server file and looks like this:
This is the output we’d get from that:
The & prefix means we’ll treat that value as raw HTML. This lets us put rendered Markdown into these variables. Our server takes care of that, processing all the variables as Markdown into HTML before stitching them into the layouts.
In this case, for the chapter layout, we have two main divs, one for the chapter’s title page and one for the content of the chapter. This is so that we can use the special @page at-rule to have the title page treated as a full separate page, even though it doesn’t have very much content on it.
When Prince goes from the .chapter div to the .tips div, it recognizes it’s a new page (because of the @page at-rule in our CSS), and begins a new page. We’ll see another example of this at-rule at the end of the article.
Dynamically Generating the Table of Contents with a Custom Script
One cool feature that Prince has is that we can get it to run a script after the PDF has been rendered. We can discover what pages different elements are on, and then use that info to dynamically generate a table of contents, an index, or re-size elements if we need to.
I’m using it in Paperback to generate a table of contents based on the content included.
This script needs to call Prince.registerPostLayoutFunc and pass it the function that will be called once Prince is done rendering.
Since we’re dealing with vanilla Javascript, the function for generating the table of contents looks something like this, with lots of DOM querying and manipulation:
Prince implements a subset of Javascript, but the most recent version supports most ES6 so we can write Javascript in a familiar way.
Styling Your PDF: Examples and Techniques
The CSS Paged Media module has some interesting additions, and Prince is one of the only user-agents that actually implements these, plus a few really useful things that aren’t in the CSS spec. This is why it’s so useful as a PDF generation tool.
Here are a couple examples of what we can do:
- Adding a Footer with Page Numbers and Titles
- Generating a Table of Contents with CSS
Adding a Footer with Page Numbers and Titles
The main part of the Paged Media module is the @page at-rule. Using this we can set margins, as well as control what happens in different page regions (aka margin at-rules).
Here’s a diagram of these margin at-rules from Prince’s documentation:
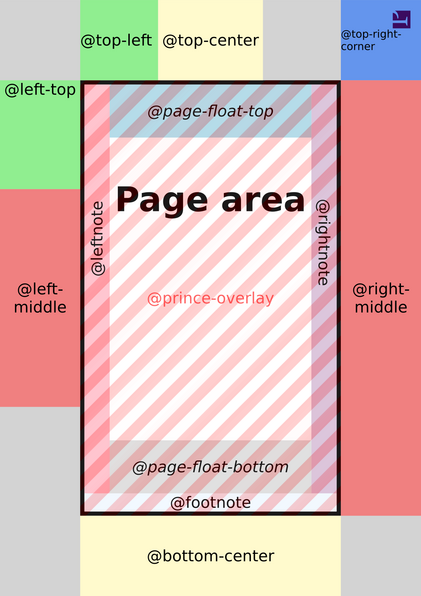
Aside: MDN says they haven’t been implemented by any user-agent, but this is technically wrong since Prince definitely implements them!
For example, this is what the @page looks like for creating this footer:
Let me break this down for you section by section.
Here, we set the size of the page to A4 in the portrait orientation. We then use centimetres to set the margin — physical measurements just make more sense since we’re dealing with paged media here, even if this will never get printed. Finally, we set the text colour using a CSS var I’ve defined elsewhere.
We’re now defining the bottom-right-corner section of the page. This corner sits entirely in the margin of the page.
I’m using content: '' to ensure it’s rendered. Then, using border and margin-top properties, I render a line that’s centred vertically in the region. The margin-left is there so it doesn’t get too close to the page number.
The next section renders the page number:
We use a CSS counter to render the page number as the content for this region. I’m also adjusting the width and font size to keep it positioned nicely.
I also want to print the name of the book in the footer:
We align the text to the right, since this bottom region spans the width of the page (minus the left and right margin). Throw on a uppercase text transform, a bold font weight, and a little right padding, and it’s looking great!
Generating a Table of Contents with CSS
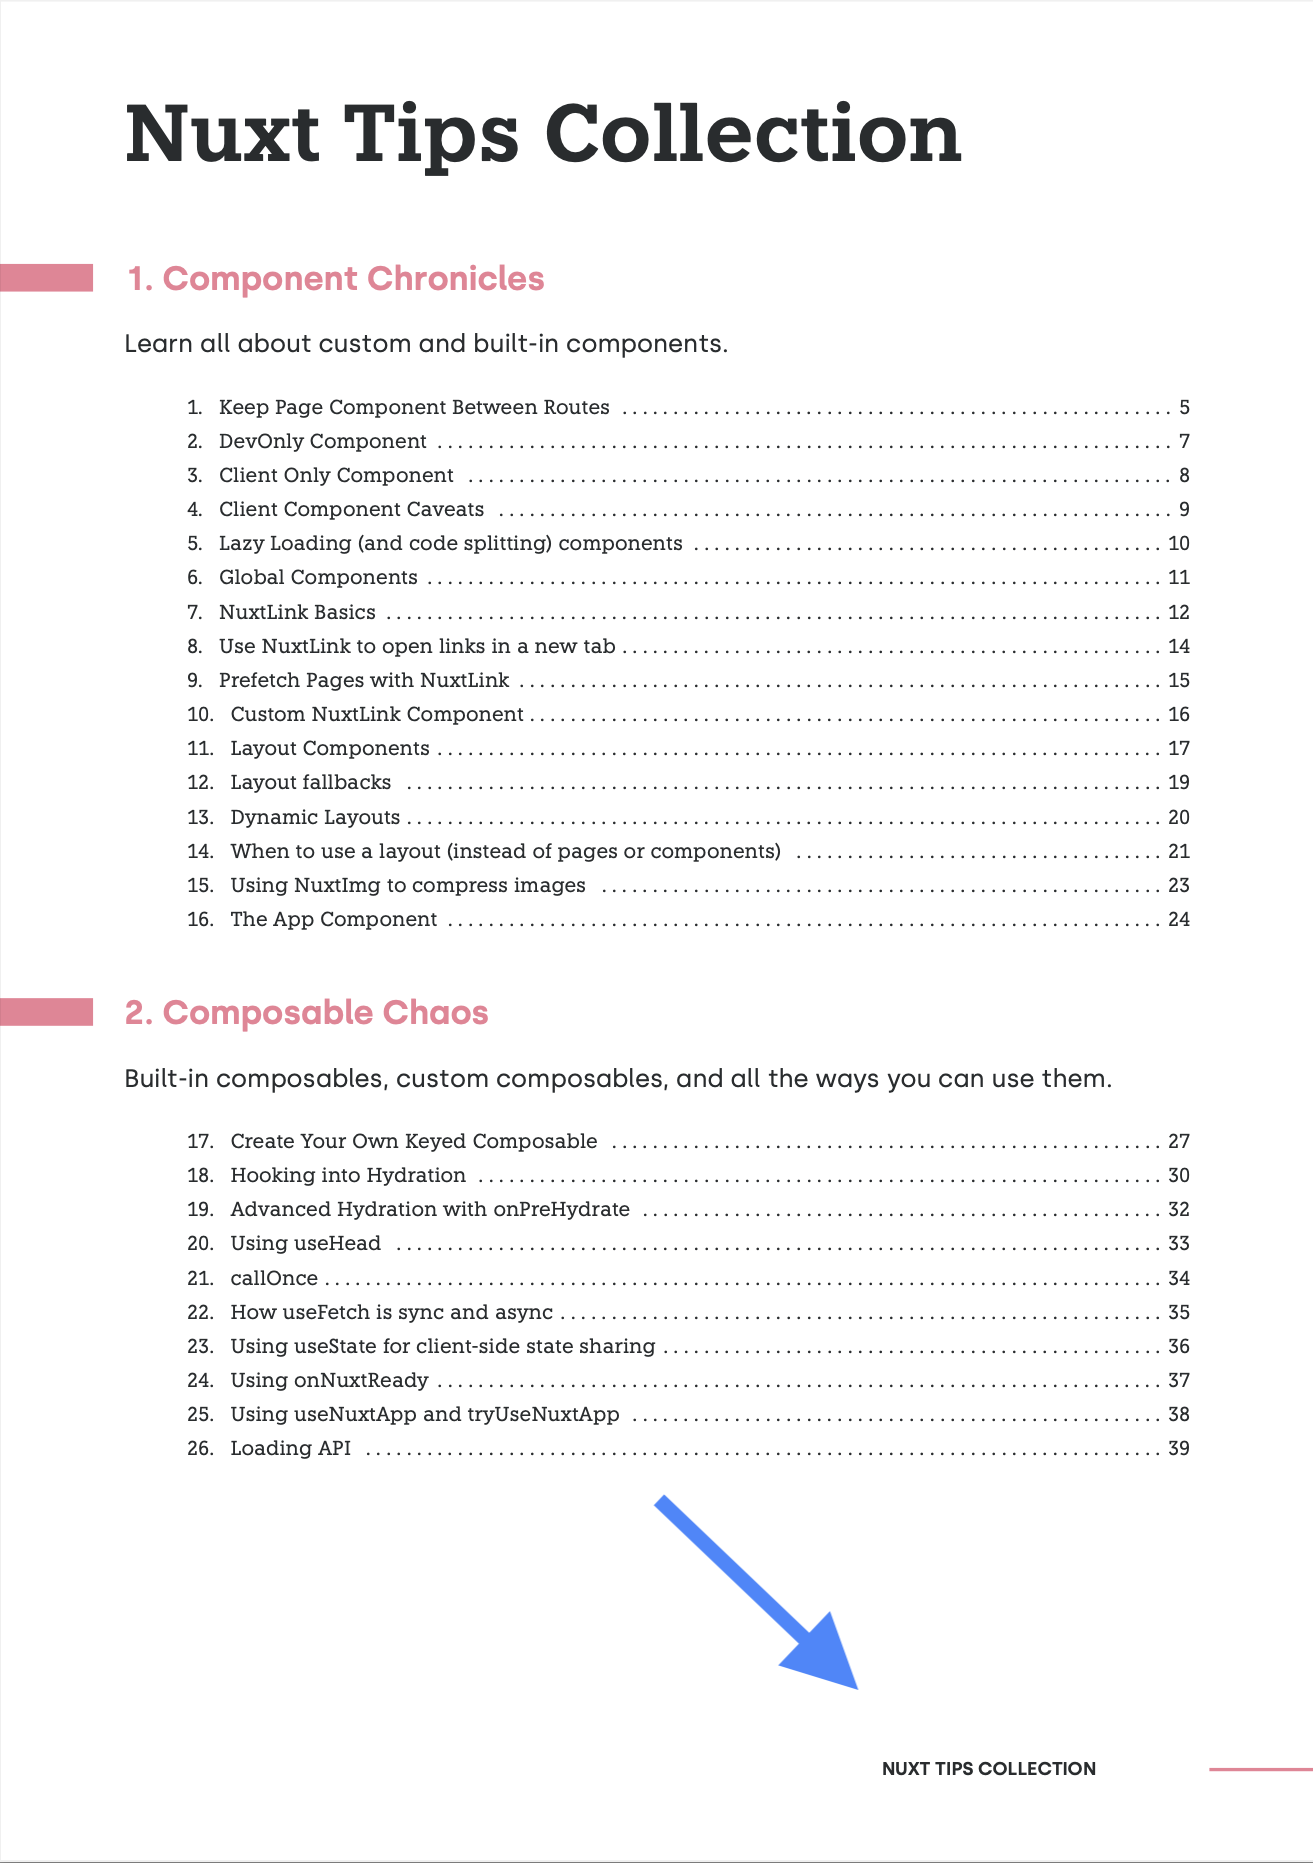
Only half of the table of contents is generated using a script. The other half is just CSS.
The “leader” dots and the page number are CSS, but using features that you’ve likely never come across because they aren’t implemented in most browsers:
We use the leader CSS function to fill the content of this after pseudo-element with dots. It will repeat as many times as needed to fill the space.
But at the end we want to stick the page number. We get that using the target-counter function. We pass it a URL and a counter, and it will give us the value of the counter at the links location.
In the case of Nuxt Tips Collection, each tip in the book has a URL in the form of an id, courtesy of the custom script that we run after the first layout pass:
The link to this tip in the table of contents is rendered like this:
So the value of attr(href) here is #tip-2. Then, the value of target-counter(#tip-2, page) is the page number that tip 2 is on!
By the way, the attr function has great browser compatibility, but only works in the content property.
The Prince documentation has more on using generated content in your PDFs.
Wrapping Up
In this article, I've shared my journey of building Paperback, a custom tool that streamlines the process of creating beautiful ebooks and PDFs using HTML, CSS, and Markdown.
By leveraging familiar web technologies and the powerful Prince tool for PDF generation, Paperback offers a seamless, hot-reloading workflow that integrates perfectly with my existing skills and branding.
I hope this detailed breakdown inspires you to simplify your own content creation process, making it more enjoyable!
Also, Nuxt Tips Collection is launching this coming Monday, August 5th! It’s a collection of 117 concise and insightful tips on using Nuxt better. You can check it out here.